Let's begin from where we ended yesterday. We will now make the Gujhiya's with the stuffing that we made but before I start that let me reminiscence a little about my childhood. We used to live in a township and during every festival all aunties of the same group would assemble at each other's place turn by turn and would help in making stuff like Gujhiya which is a tiresome & boring job. I remember how much fun we kid used to have then and would also blackmail our mothers into letting us make some Guhjiya's. My brat did a little of that today, he hijacked our main tool i.e. the spoon with which we shape the Gujhiya. I had to finally play The Car Story to get him off our back.
Sigh!! good old days!!! Anyways, let us get on with the job
Ingredients
Maida - 1/2 Kg
Water - For making the dough
Ghee/ Dalda - For frying
Ghee/ Dalda - 3-4 Tbsp for Moin
Stuffing - Ingredients & process is here
Melt the ghee/ dalda for moin. Take the maida in a parat and add the moin. The trick of adjudging the correctness of the moin is that when you mix it with the maida and take it in a hand a ladoo should form (like in the picture). Now slowly add the water and make a dough which is tight, quite like the way we make for poori. Cover the dough and leave it for 15-20 mins.
 |
| I forgot to melt the ghee! You shouldn't |
 |
| See A ladoo/ lump to check the correctness of the moin |
 |
| Done |
Now, get yourself a chakla, belan, this spoon with which you can cut the ends or the Gujhiya cutter. I will now let the images talk
 |
| All Set! |
 |
| The mold! We used a spoon cutter |
 |
| This big a portion of the dough |
 |
| Roll out the poori, remember it should neither be too thick nor too thin |
 |
| Put the stuffing the center |
 |
| Bring in the sides together to seal (you can apply a little water on one side to seal it). Remember to close it properly otherwise the stuffing can break out while frying. Also remember not to over stuff. |
 |
| Now cut the corners |
 |
| Like This |
 |
| Ready! |
1/2 Kg dough made 55 Gujhiya's for us, you can adjust the quantity accordingly.
Take a Kadhai, add the Ghee/ dalda (we used dalda because Ghee would have been too heavy) and let it get heated up. Points to note while frying the gujhiya's
- When you are starting the oil should be warm. Check the heat by putting in a small ball, if it springs up immediately you are ready to fry.
- Keep the flame at medium and put in 3 pieces of Gujhiya.
- Within a minute the poori will swell up, turn the gujhiya.
- Keep turning them till they turn pinkish and then take them out.
- Maintain same heat all the time.
- Be Patient!!! :D
 |
| Ready to be fried |
 |
| Another view |
 |
| In the oil |
 |
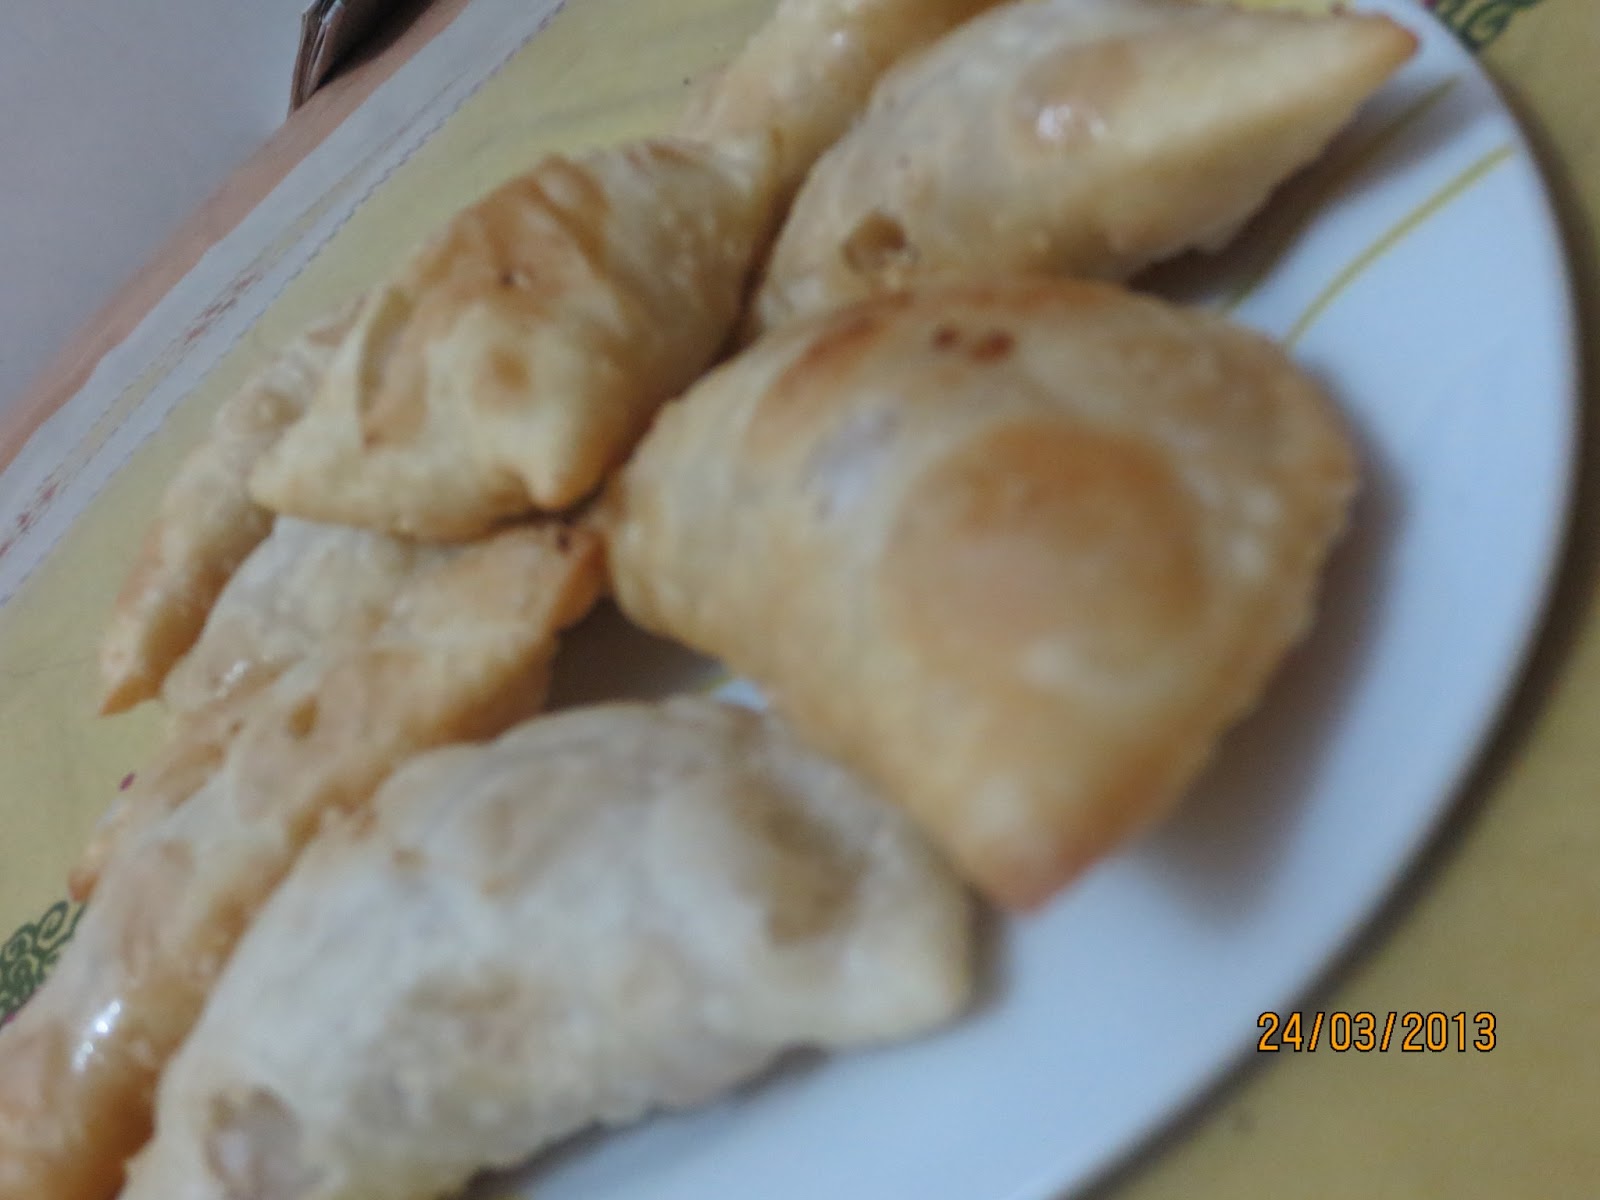
| Done |
 |
| The Bunch is ready! |
Phew! Thank you Reema for making me do this, hope you make them!! And a bigger thanks to my Mother In Law for teaching me this and being there, without her I wouldn't have made this because she did the 60% mehnat here.
Have a great holi everybody :)


It's high time i learn making these...I remember my grandmom making these before diwali...I am going to make a call to her now and get her recipe :)
ReplyDeleteI hope u r making them!!! The only reason that I have started doing this is to give my SOn the same kind of memories that I have.
Deletethey look so yummy! I really want to make them sometime.
ReplyDeleteHope u make them soon :)
DeleteWow.. Looking very perfect & lovely... Awesome gujhiyas :)
ReplyDeleteThanks Chitz :) U make them?
Deleteagain...memories of my childhood are gushing in :D
ReplyDeleteI always used to sneak in a piece before the pooja, and the whole lot will be over in flat 3 days between me and my brother :D
-Visha