Sunday, March 24, 2013

Gujhiya - Part II

Let's begin from where we ended yesterday. We will now make the Gujhiya's with the stuffing that we made but before I start that let me reminiscence a little about my childhood. We used to live in a township and during every festival all aunties of the same group would assemble at each other's place turn by turn and would help in making stuff like Gujhiya which is a tiresome & boring job. I remember how much fun we kid used to have then and would also blackmail our mothers into letting us make some Guhjiya's. My brat did a little of that today, he hijacked our main tool i.e. the spoon with which we shape the Gujhiya. I had to finally play The Car Story to get him off our back.

Sigh!! good old days!!! Anyways, let us get on with the job

Ingredients

Maida -            1/2 Kg
Water -            For making the dough
Ghee/ Dalda -   For frying
Ghee/ Dalda -   3-4 Tbsp for Moin
Stuffing -          Ingredients & process is here 

Melt the ghee/ dalda for moin. Take the maida in a parat and add the moin. The trick of adjudging the correctness of the moin is that when you mix it with the maida and take it in a hand a ladoo should form (like in the picture). Now slowly add the water and make a dough which is tight, quite like the way we make for poori. Cover the dough and leave it for 15-20 mins.

I forgot to melt the ghee! You shouldn't
See A ladoo/ lump to check the correctness of the moin

Done
Now, get yourself a chakla, belan, this spoon with which you can cut the ends or the Gujhiya cutter. I will now let the images talk

All Set!
The mold! We used a spoon cutter
This big a portion of the dough

Roll out the poori, remember it should neither be too thick nor too thin

Put the stuffing the center

Bring in the sides together to seal (you can apply a little water on one side to seal it). Remember to close it properly otherwise the stuffing can break out while frying. Also remember not to over stuff. 

Now cut the corners

Like This

Ready!
1/2 Kg dough made 55 Gujhiya's for us, you can adjust the quantity accordingly.

Take a Kadhai, add the Ghee/ dalda (we used dalda because Ghee would have been too heavy) and let it get heated up. Points to note while frying the gujhiya's
  • When you are starting the oil should be warm. Check the heat by putting in a small ball, if it springs up immediately you are ready to fry.
  • Keep the flame at medium and put in 3 pieces of Gujhiya.
  • Within a minute the poori will swell up, turn the gujhiya.
  • Keep turning them till they turn pinkish and then take them out.
  • Maintain same heat all the time.
  • Be Patient!!! :D
Ready to be fried

Another view
In the oil

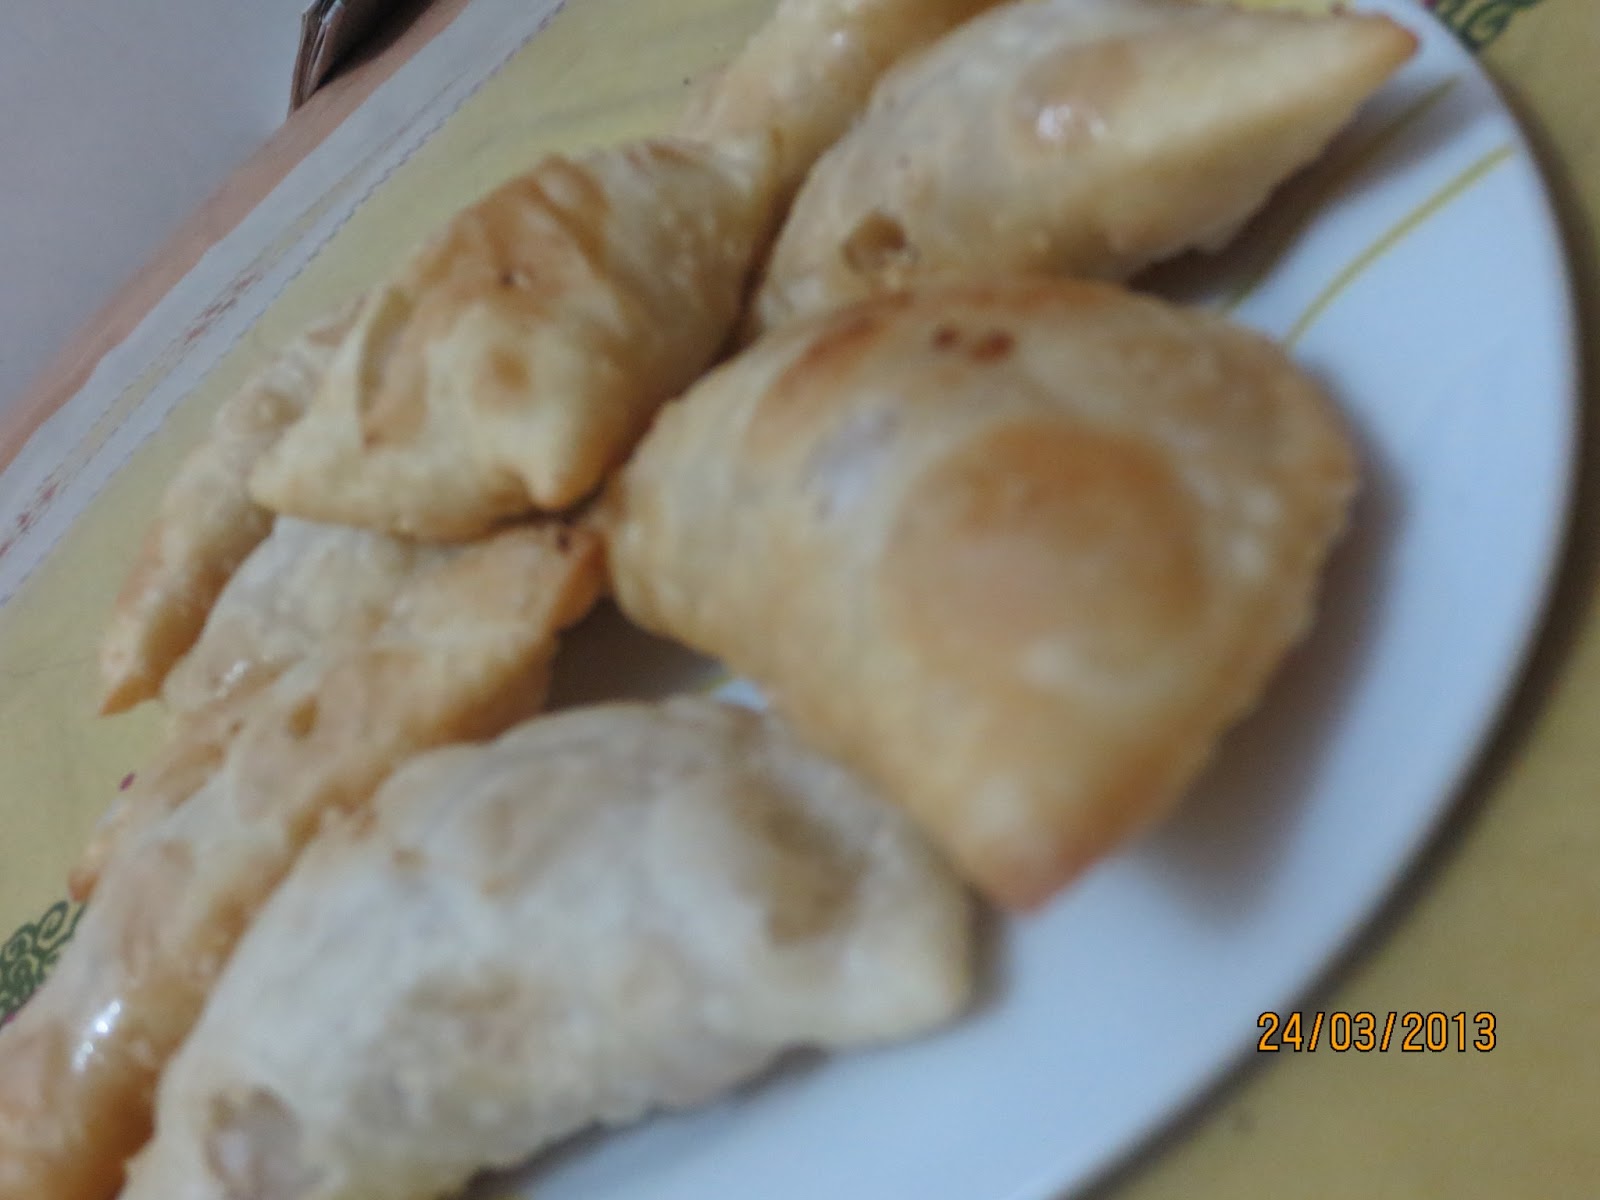
Done

The Bunch is ready!


Phew! Thank you Reema for making me do this, hope you make them!! And a bigger thanks to my Mother In Law for teaching me this and being there, without her I wouldn't have made this because she did the 60% mehnat here. 

Have a great holi everybody :)

Saturday, March 23, 2013

Gujhiya - The Stuffing - Part I

Let us get on with the most important dish without which Holi is incomplete especially in all North Indian Homes. Gujhiya, is a time taking dish and you need to have patience while making it. Many of my Holi memories are associated with how I used to sit with my Mom while she maked them year on year. How I would request her to involve me and how she would graciously allow me to roll out one or two poori's for this. Sigh!!! Good old days!!!

We are making this in phases and since I have time & mood right now I decided I might as well put up the 1st part here.

Gujhiya

Ingredients for the stuffing

Khoya/ Mawa -     1/2 Kg
Powdered Sugar - 1/2 Kg
Sooji -                   200 gms
Desi Ghee -           2 tbsp
Elaichi -                 5-6
Dry Fruits -            Raisins & Cashew nuts a handful each

The most crucial part of the stuffing is the mawa which is readily available at all dairies. However my MIL doesn't have a very good opinion about them so she makes her own Mawa religiously. Sadly for me I have never been a witness to it as she makes it when I am at work because she feels that if we make it when I come back it would be very late :-( but I owe it to her for doing all this mehnat for us.

MIL's efforts!! The Mawa!
In a skillet add the ghee and put the sooji in it. Fry it at low flame till it turns a light brown like in the picture.

Before!

After!
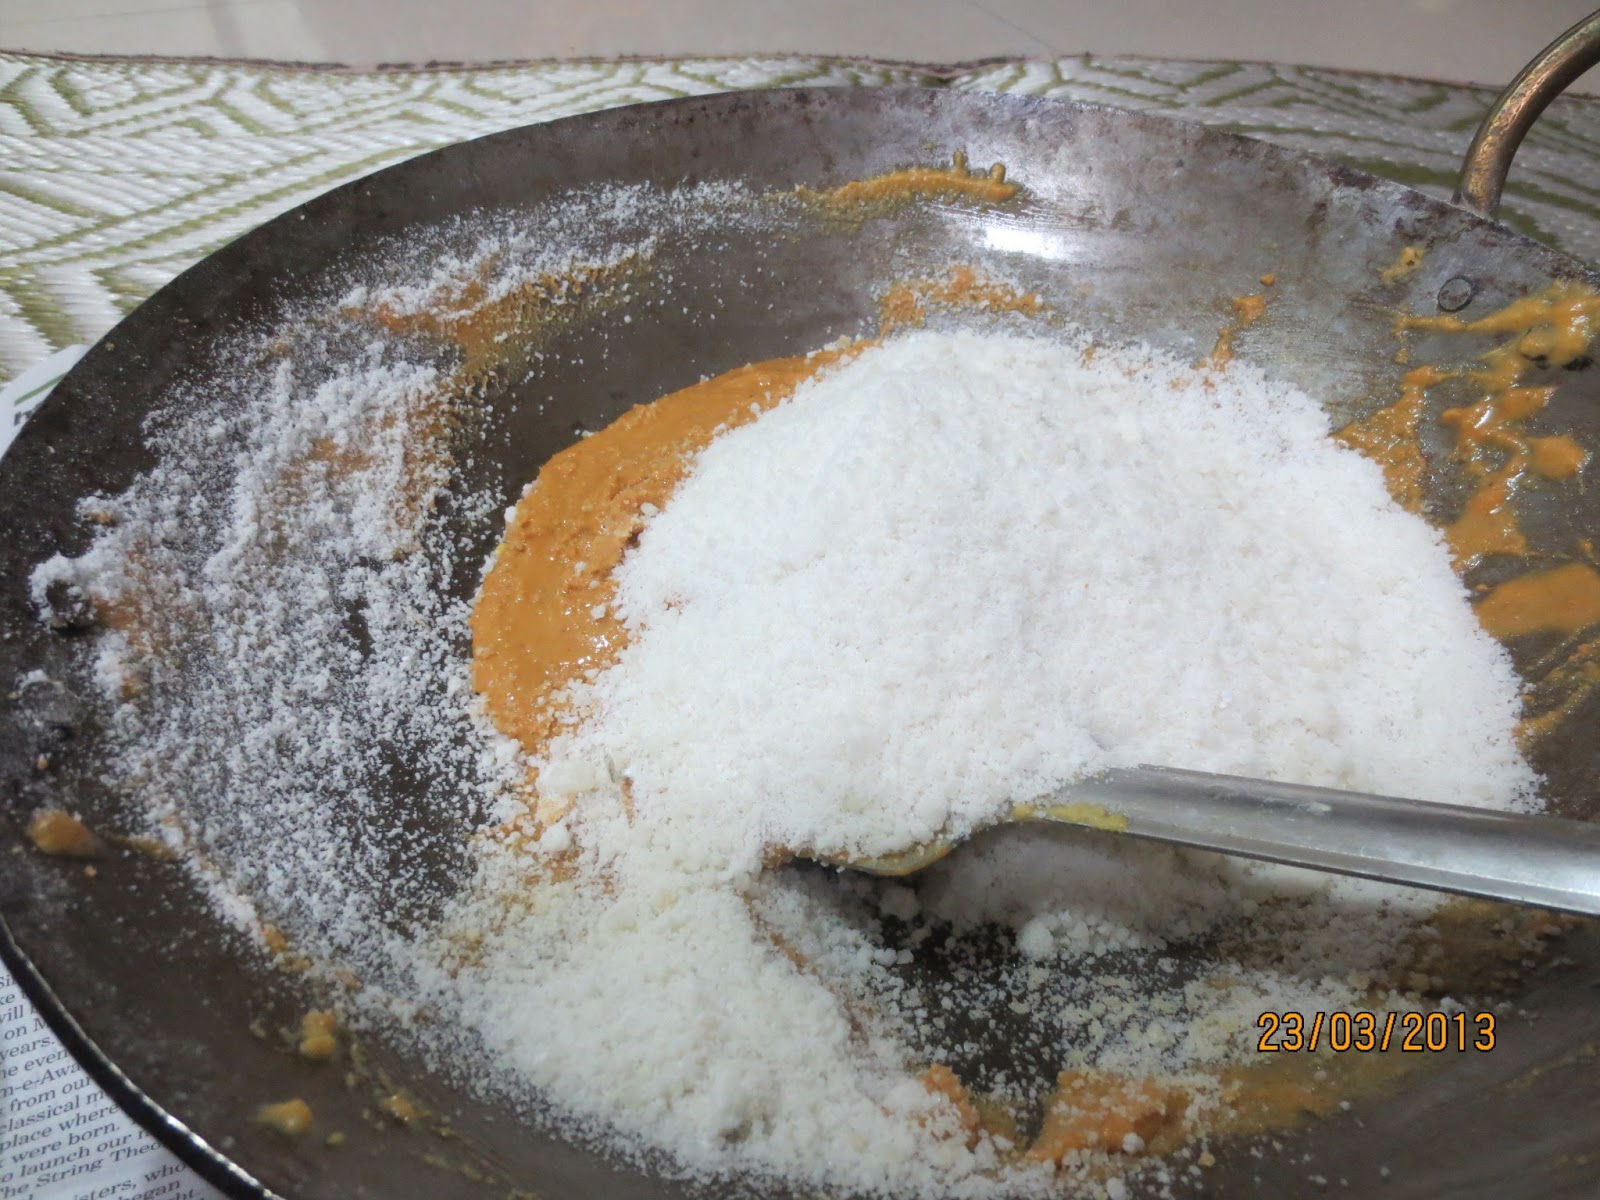
Now add the Khoya in it. Powder the Sugar along with the Cardamom and add it to the mixture along with the dry fruits. The stuffing, also known as kasar is now ready. Let it cool down & store it, to be used later for making the Gujhiya's.
Waiting to be sweetened

Ready to be Powdered

Added to the Khoya + Suji Mixture

Throw in the Dry Fruits!

Waiting to be stuffed!
Here is the Part II of this recipe.

Besan Ke Ladoo!

This afternoon I updated my Personal blog and talked about how I was planning to make various dishes for Holi. After reading that post Reema commented, "Why don't you share recipes for these things pre-holi, so that the lesser ortals like me can also attempt making them at home. I say, try to post some tomorrow. But do it before Holi, otherwise it wil be too late." 

After reading her comment I realized it wasn't a bad idea at all, though it would be a tight fight for me because I seldom blog from home but then I thought there is no harm in trying. I finally decided to give in to the challenge because I know that there are many people like me who would want to make these things but they either lack in motivation or guidance. In my case I have the benefit that my MIL lives with me and knows a lot about making sweets. She loves making them and is very sweetly passing on the tips to me. So what better way than jotting down the recipes here (along with the tips).

So lets begin without much ado the Besan ke Ladoo

Besan Ke Ladoo

Ingredients

Makes 30 pieces

Besan (Gram Flour) -                       1/2 kg
Powdered Sugar/ Sugar Boora -      300 gms (400 gms if you like extra sweet)
Ghee -                                              300 gms
Dry Fruits - Raisin & Cashew nuts    A Handful

Process

Heat the ghee on a high flame in a Kadhai (skillet) and add besan to it. Keep stirring on the high flame for 2-3 mins and then reduce the flame. Keep stirring the besan so that it doesn't get stuck and neither does it burn. This is a long process but you need to be patient.
Begining
You need to be careful while putting the ghee because if the quantity of same is in excess it will be very difficult to bind the ladoo's (I had committed this mistake during diwali and my ladoos were quite sticky) later. You can check the correctness of the quantity of ghee by checking the consistency of the besan in the kadhai. The consistency should be like a halwa. See the picture below.

Check the Consistency!
Keep turning the besan and turn off the gas went it turns light golden in colour. Also remember that you need to stir the mixture for some more time because the vessel is very hot and the besan can burn.

Stir like there is no tomorrow
Let the mixture rest for sometime and in the meanwhile you can powder the sugar. It is however preferable to use the boora as it gives a nice texture to the Ladoo. Out here the same is not available so my MIL made it at home and I will post a separate post for that, for now you can substitute that with the sugar.

See the change in the colour, It is ready!
15-20 mins later take the besan and add powdered sugar & dry fruits to it. The trick here is that the besan should be lukewarm when you add the remaining ingredients in it. The reason behind it is very simple, they are easier to bind then. Mix them well and the ladoo's are ready to be made. Take a small portion in your palms and very firmly smooth roll it into a ball.

Ready to be married!!

Sweetened!!

Merged!!!

Saas Bahu aur Ladoo!

Ready to be devoured
Enjoy!!!

Thursday, March 21, 2013

Amla Murabba

In January my MIL expressed a desire that we should make Amle ka Muraba, Tomato Sauce and Lemon Achar. Due to my tight schedule I knew that I won't have time to make them but I also knew that she really wanted to make them. When she was in Jabalpur she used to make these things besides Mirch ka Achar, Desi Ghee, Aam ka Achaar etc at home and I knew that she missed this part of her routine a lot. It is because of this very reason I agreed to her request and decided to bring in the required stuff.

Lemon Pickle!
To be honest I was also yearning to learn these things because there is a charm in making things at home. I remember that in our childhood days these things were common and we always had a benefit of eating homemade sauce and other stuff & in a way I want to pass on the memories or charm to Arnav. In fact during my diwali break I and MIL and had made Mangodi & Badi (if you are from North you will know what I am talking about). What works for us is that this house of ours gets ample sunshine (Which is must for making these items).

So she made the Murabba & the lemon pickle all alone. But I helped her in making the sauce. The Murabba as expected was a big hit and thus we decided to make another batch of it and I told my MIL that this time she will teach me how to make it. So, this Saturday the Murabba was made and here is the recipe, which is very simple.

Amla Murabba

Ingredients

Amla -    1 Kg
Sugar -   1 Kg
Water -   3-4 glasses (amlost double of Sugar + Amla)
Elaichi -  8-10 powdered (Cardamom)

Grate the Amla's leaving the seed aside. Just ensure that not a single spoilt piece is grated.

In a heavy based utensil add the water & sugar and put it to boil. Once the water starts bubbling add the grated Amla's. Initially you can cook it at high flame but reduce the flame after say 10 mins. Keep stirring in between so that the mixture doesn't stick at the bottom. In case you feel that the water is less you can add at a later stage but the quantity that I have given is more or less accurate.


You need to cook it for 45 mins to one hour. The colour of the Amla would change and the sugar will become more like chashni.


When the Amla gets cooked, mixes well with the water and the final consistency is such that liquid isn't running it is cooked. See it looks like this. Let it cook down and then add the powdered Cardamom. Once it is totally cool store it in an airtight vessel (preferably glass vessel). You can keep it in sun for a day so that it lasts long. This Murabba will last for 2-3 months without refrigeration. Just ensure that you do not handle it with wet hands i.e. not a drop of water should


Easy to make, this Murabba comes with loads of health benefits
  • Good for Skin
  • Good for digestion
  • Loads of Vitamin C and as my FIL says 1 Amla = 3 Oranges
  • Good for eye sight
  • Cools your body
  • Increases body resistance
etc etc....the best part here is that the benefits of Amla (which you can read here & here) do not get diluted even when it is cooked for a long time. So what is stopping you from making it? It will take 2 hours of your life and will add many more ;-). It is best had with Paratha's/ roti's or to be eaten as is.

Up Next Baigan Ka Bharta!

Wednesday, February 27, 2013

Lauki ke Kofte

I hate Lauki (Bottlegourd ) and I know many more people who are like me. I remember my Mom would always make potato vegetable along with it so that I could eat it. But then there were days when she would serve it as kofta’s and trust me we wouldn’t even know that very slyly she was feeding us (though it is a different matter altogether that it loses its benefits after frying) the much hated lauki.
So here I present you the much hated Lauki in a version which makes it much loved ;-)
Lauki Ke Kofte
For Kofta’s
Lauki:                               1 medium sized
Besan:                             1 Tablespoon
Salt:                                1 ½ teaspoon
Garam Masala:                  1 teaspoon
Cilantro leaves:                 1 tablespoon
Bread:                             Two slices
Boiled potato:                   1 (optional)
Oil:                                  For frying
For Gravy
Onions:                              2 medium sized
Tomatoes:                          2 medium sized
Garlic:                                6 Cloves
Ginger:                               1 inch piece
Red Chilli Powder:                1 Teaspoon (vary the quantity as per taste)
Dhaniya Powder:                  1 & 1/2 Tablespoon
Turmeric Powder:                 1 & ½ Tablespoon
Salt:                                   To taste
Curd:                                  1 Tablespoon
Malai:                                 1 teaspoon (optional)
Garam Masala Powder:          1 & ½ teaspoon
Cilantro leaves:                    1 Tablespoon (for garnishing)
Oil:                                    2 Tablespoon

Put 2-3 glasses of water to boil, peel the Lauki and grate it. Once the water starts boiling put the grated Lauki in it and let it boil for 3-4 minutes. Switch off the gas and let the Lauki lie in the hot water for 10 minutes. Later drain the Lauki out in a drainer and it let cool.
Kofta Stuff!
In the meanwhile you can start working on the gravy by adding Two Tbsp oil in a kadhai; add jeera, minced ginger & garlic. Let it fry for two minutes and then add the chopped onions.
Once the Lauki cools down take small-small quantities of Lauki in your palm & squeeze out the water. This step is very important because it decides how good your Kofta’s would be. Please ensure that you manage to squeeze out the maximum water. Once this is done add all the ingredients mentioned under the head “For Kofta’s” and knead this into soft dough. Keep stirring the onions in between.
Heat the oil for frying. Make small balls of the dough and fry it in batches and don’t forget to stir the onions in between. Key to perfectly fried Kofta’s? Remember that when you are putting them to Fry the oil should be hot, 2-3 mins after putting them in put the flame at medium, keep rotating the balls so that they don’t get overcooked from one side. Just before you are taking them out increase the flame, cook for 2-3 mins and take them out when they are golden brown.
Frying Away to Glory!
Ready to be thrown in the sea of gravy!
By the time you would be done with the Kofta’s the onions would have turned brown. Now add the masala’s i.e. Red Chilli Powder, Dhaniya Powder, Turmeric Powder & Salt. After 2 mins add the chopped tomatoes, cover the kadhai and let it cook at medium flame.  Keep stirring in between and once the tomatoes’ are cooked add the curd & Malai.

Cook it at high flame and once the oil separates from the masala add approximately 2 cups of water, bring it to boil and then let it cook at low flame for approx. 10-15 minutes. Now add the Kofta’s slowly and turn off the gas.
Garnish it with cilantro leaves and serve it with hot roti’s/ rice.


There is an alternate way to make the gravy which you can find here. http://books-life-n-more.blogspot.in/2012/08/some-weight-updates-recipe.html. The only difference here is that we make a paste of the Onions + ginger + garlic + tomatoes and then cook it. Since this method takes more time I would advise you to start with this even before par boiling the Lauki. This will save you loads of time. I prefer using the second method on days when I have extra time or when I am expecting guests, it is however very important that the masala has to be cooked very well otherwise there would be this half cooked taste which can spoil all the efforts.
Here, this is the picture of the subji made with the second method. The difference is just in the texture of gravy. 

Do you make this dish? Same way or some other version? Do share.

Saturday, February 16, 2013

Matar Ke Parathe (Stuffed Green Peas Paratha)

Matar aka Fresh Green Peas is a personal favourite and the main thing that I love about it is the numerous number of ways in which we can use it. I always wait for the winter season mainly for the fresh vegetables it offers and green peas always tops the list. I always stock up as much of it as possible for future use but manage to end it within a month and then I either keep buying it expensive or go & pick up the frozen ones which I personally feel are no patch over the fresh ones. Unfortunately this year I have not been able to enjoy them because in my diet plan they fall under the "strictly not allowed category" but that hasn't stopped me for using it for family.
 
This Thursaday I made Stuffed Green Peas Paratha for dinner (you can make them for breakfast too) and they turned out yummy. An anecdote related to this recipe is that whenever I used to tell my Hubby that I am planning to make Matar Ke Parathe he would turn his nose saying it would be bland but when I finally served him my Paratha's he was in for a surprise. So here is my recipe for you to try before the season ends. Also few initial pictures are missing as I forgot to click them.
 
Stuffed Green Peas Paratha
 
For Stuffing

Makes 10-12 big paratha's
Fresh Green Peas:    1 /2 Cups
Onion: 1 Medium size, finely chopped
Oil: 2 Tsp
Jeera (cumin seeds): 1 tsp
Red Chilli powder: To taste
Dhaniya Powder: 1 tbsp
Salt: To taste
Turmeric Powder: 1 tsp
Amchoor Powder: 2 Tsp
Pudina Powder: 2 Tsp
Garam Masala Powder: 1 tsp
Cilantro leaves: 1 tbsp

Boil the peas and as it turns tender drain the water out. As it cools down put it in a mixer making a paste of it.

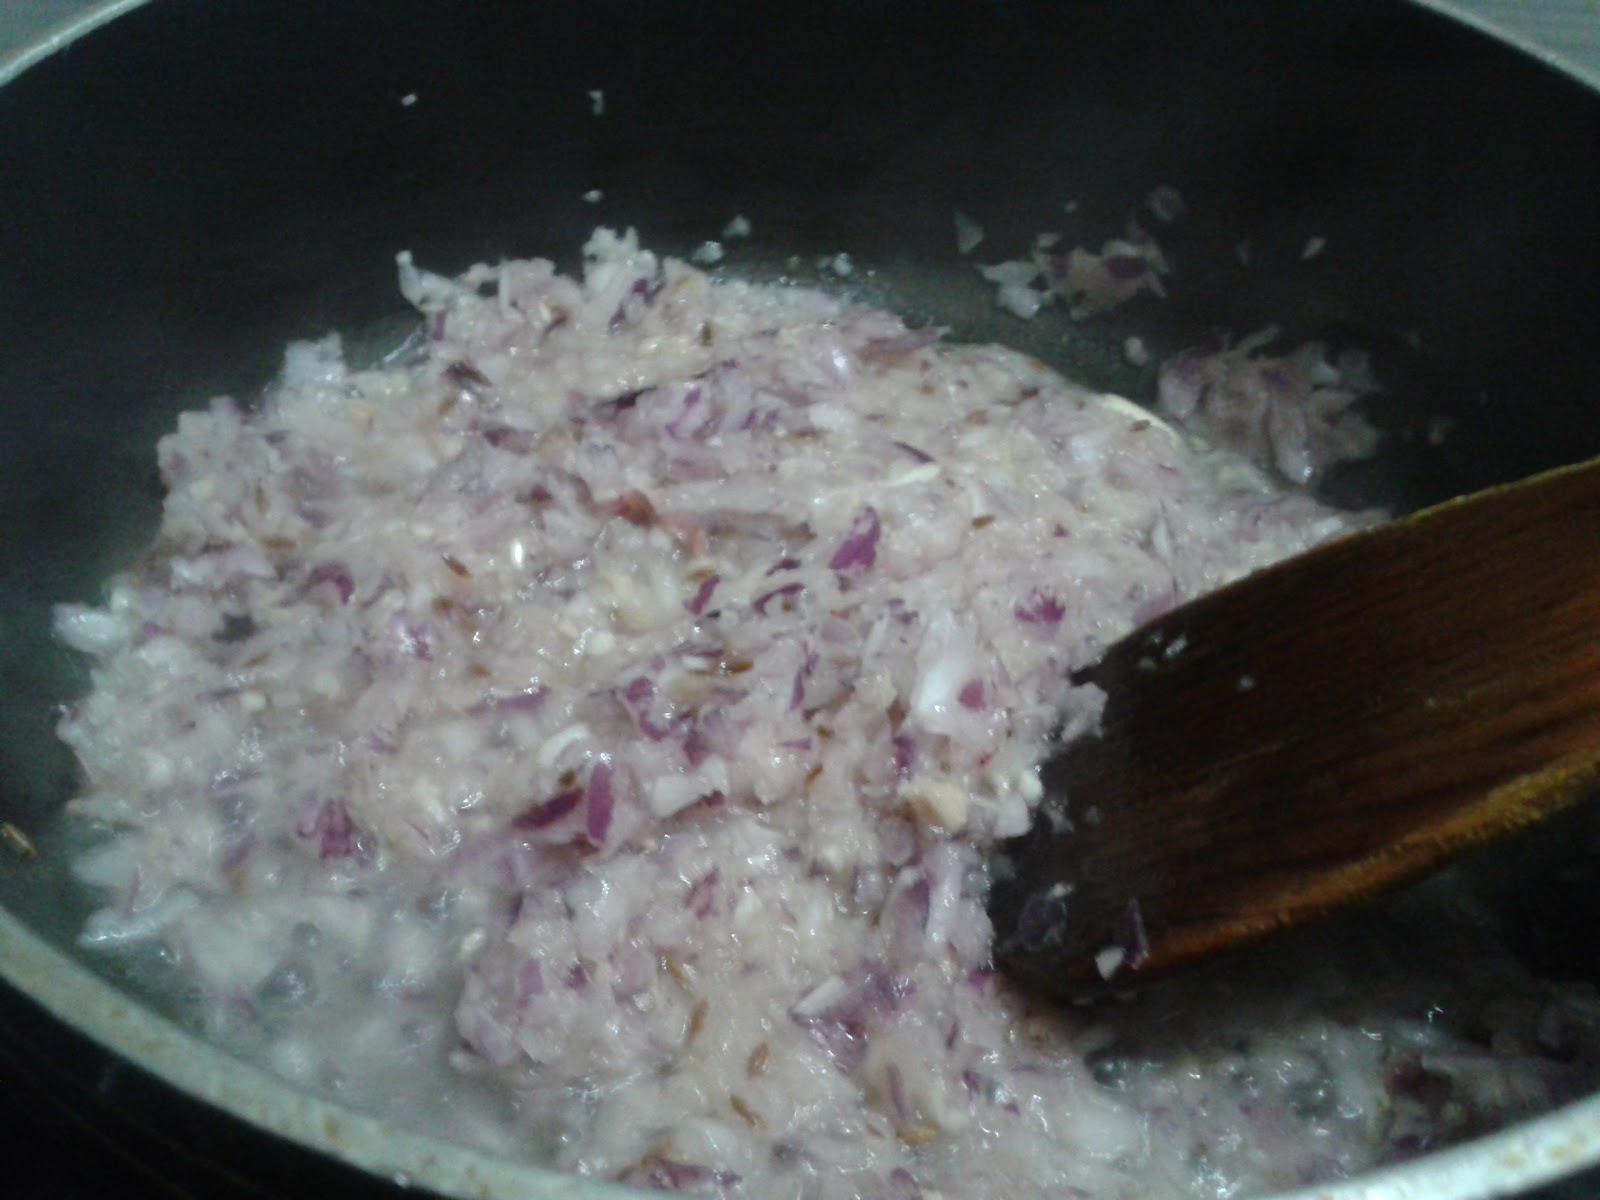
In a pan add oil, once it heats up add the jeera. As it splutters add the onion. Once the onion turns transparent add the peas followed by all the spices, barring the last two ingredients. Cook this stuffing till the water evaporates and the Peas looks cooked (it will take approx. 15-20 mins to cook at medium flame). Add the Garam Masala Powde & Cilantro leaves, cook for 2-3 more mins and turn off the gas.


See how the color changes
Take it out in broad vessel so that it cools of quickly.

 
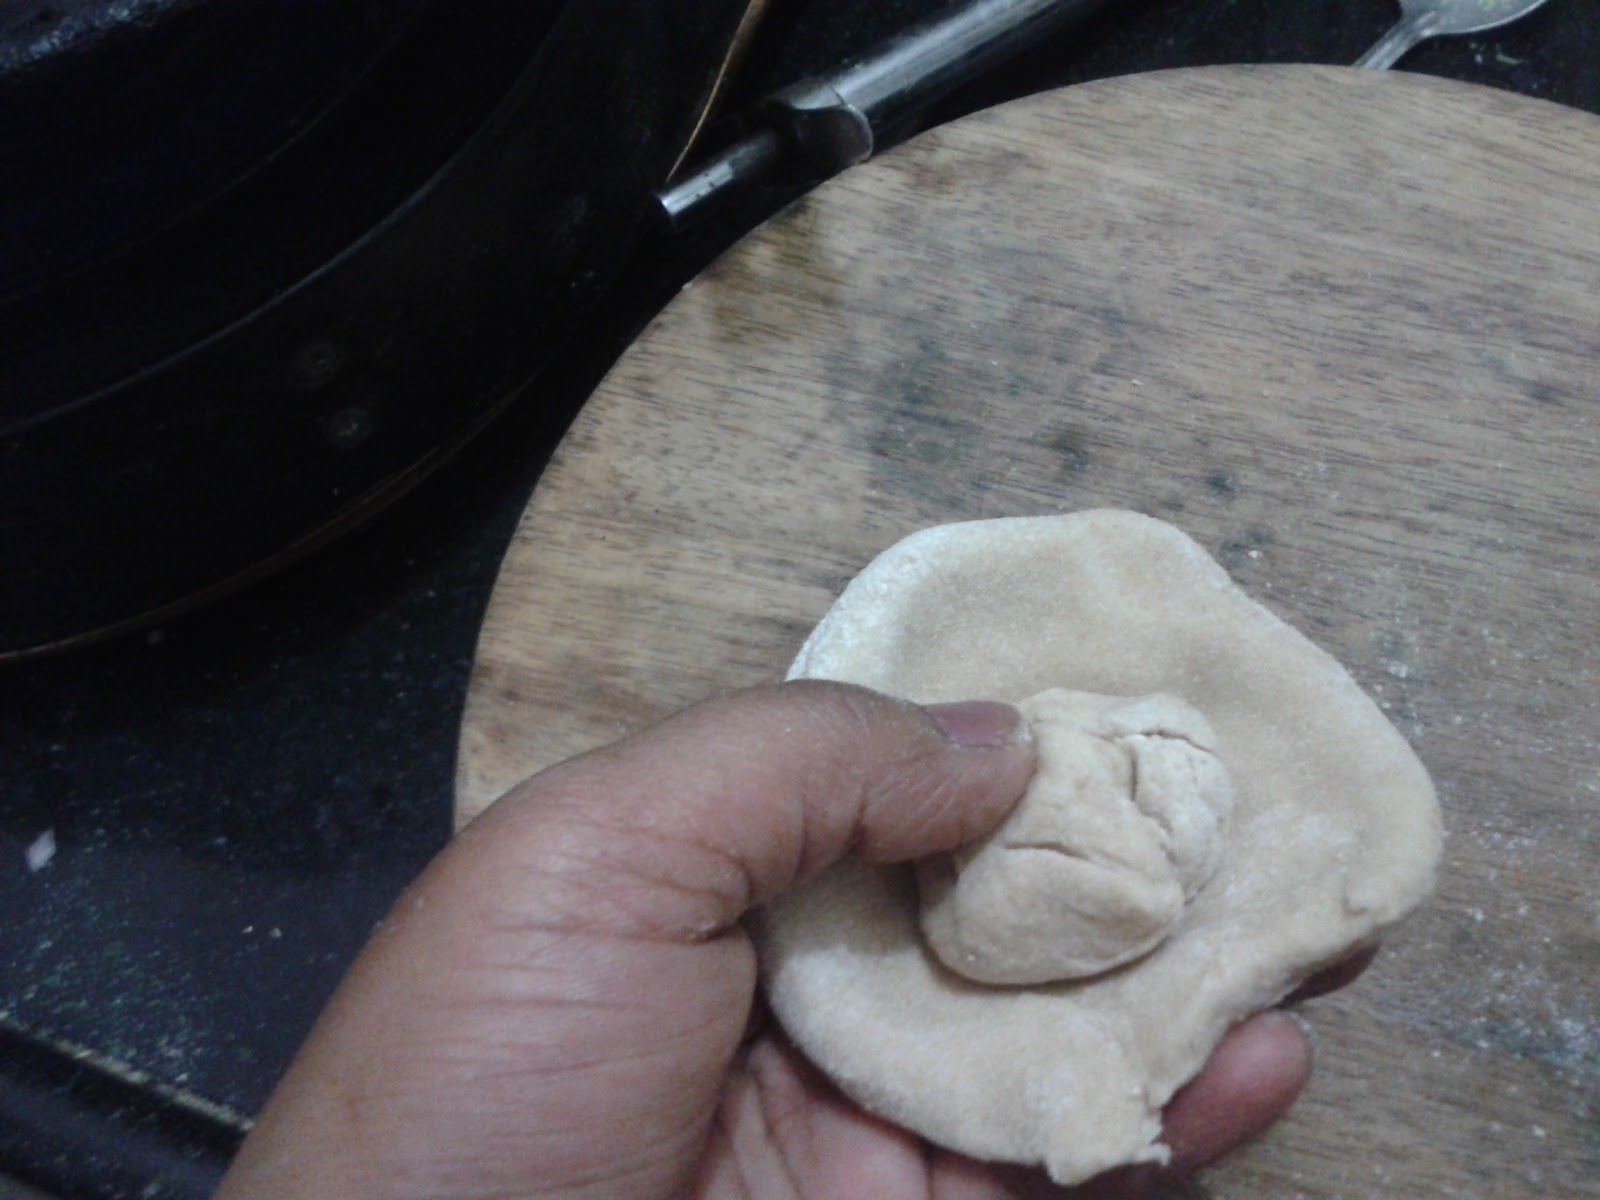
Now prepare the atta dough as you usually do, just add a little salt in it. Take out a small ball of the dough (we call It loi), make a small katori of it and put the stuffing in it. Now I will let the pictures do the talking.
 
If you keep a little loi in the center the stuffing will not spill out

Stuffing ball

In!

Fold it in from all side but keep more Aata on one side

Close it!

Ready to be rolled out :)
Once the ball is ready roll it like you usually make a roti and then put it on a hot tawa. Once one side is cooked turn it around, put approx. 1 tbsp oil it, spread it across and turn the paratha. Repeat the same process and with a ladel press the thing till it is cooked from all sides and serve it hot with green chutney.

And as usual I have after pictures!!! We are always too busy eating you see ;-)

Added later in response to the queries in the comments

When you are making stuffed paratha's a common thing that happens is that the stuffing spills out when you are rolling the loi. To avoid the same what you should do is, pull out the required atta in your hand, of it pull out a small portion, make a katori of the rest of it and then put the small portion in the center (depicted in the picture). Then put in the stuffing and close the loi. How it helps is that from the side where you closed the loi there is always enough covering but in the center the atta is less and that is the side from where the stuffing spills out but by keeping a little etc atta there you are giving extra protection to the stuffing. :-)
 

Wednesday, February 6, 2013

Meri Waali Dal Tadka!

Most of my cooking skills come from my Mom and when it comes to basic dishes I have her on my beck & call. She is an awesome cook and her cooking style is simple yet there is something about the way she cooks that even the simplest dishes come to life under her and though I love everything that she cooks but her dal’s are out of the world.
 
Fortunately for me I have picked up right genes from her and learned the right way to make dal her way. Whenever I carry it to lunch not a single scrap is left and there are always queries as to how do it make it. I am not being immodest here but the truth is that there is something in the way that my dal comes out that it becomes finger licking tasty! So here I am to share with you a simple recipe of making dal my way!
 
Cast
 
Arhar daal -          1 cup
Water -                1.5 cup approx
Turmeric Powder- 1 teaspoon
Salt -                   To Taste
 
For Tadka
 
Ghee -                     One generous spoon
Jeera -                     1 Teaspoon
Asafoetida -              A pinch
Garlic -                     3-5 cloves finely chopped
Ginger -                   ½ inch piece finely chopped
Onion -                     1 finely chopped
Green Chilly -            1 finely chopped – (Optional)
Tomato -                   1 finely chopped
Curd -                       1 teaspoon
Malai -                      1 teaspoon (Optional)
Garam Masala Pwder- 1 tsp
Red Chilly -                To taste
Lemon Juice -             1 & ½ Tsp
Cilantro leaves for garnishing
 
Pressure cook the daal adding salt & turmeric powder to it.


Once that is ready take a vessel, add the ghee and once it is hot add the Asafoetida & jeera to it. Once that starts dancing away to glory add the chopped ginger garlic mix. Let it cook for 2- 3 minutes and then add the chopped onions & green chilly.

 
As the onion turns light brown add the tomato and then give them some moments of solitude together by covering the vessel. Once the tomato is all soft soft add the curd & malai and bhunofy the mix for 2-3 mins. As the ghee starts leaving the masala throw in the chilli powder & the garam masala powder.


Now pour the daal in it, add the lemon juice & cilantro leaves and your daal is ready to be served.
 
 
We serve this alongwith subji, roti & rice! You can also alternatively cook the tomato with the daal and skip adding it in the tadka, this is how I do it daily.