Showing posts with label Main Course. Show all posts

Friday, September 12, 2014

Egg Biryani

This one is for RM & my BFF who have been demanding the recipe after I posted some drool-worthy images of the said Biryani.

You know, I have always wanted to make this spicy-spicy Egg Biryani but never actually tried it because my In Laws don't eat egg and though they have no issues with us eating eggs I refrained from making it because I feel guilty that two of us are eating something special and rest are not. But with my parents here I decided to try the dish. I checked many recipes online and then ended up making my own version. Here is the detailed recipe

Egg Biryani


Ingredients - Serves three adults

250 Gms Rice - Basmati (preferable) soaked for 1/2 hour
4 Eggs - Hard Boiled (you can vary the number as per your requirement)
Akkha Garam Masala
  • Jeera - 1 Teaspoon
  • Tej Patta (Bay Leaves) - 2-3 l
  • Cloves - 5-6
  • Star Anise - 2
  • Cinnamon Stick - 1/2 inch piece
  • Big Black Cardamom - 1
  • Green Cardamom - 2
  • Kali Mirch (Black Peppercorns) - 5-6
Hakim's Biryani Masala - This one is a major find, if you can not find it look for some other brand but this is too good.
Onions - 4 Big Sized

Tomatoes - 2 Big ones
Ginger - 1 Inch piece
Garlic - 6-7 Pods
Green Chilly - 2 (optional)
Curd - 1/2 cup
Ghee - 4 Tbsp (yes I know its generous you can reduce if you want)
Milk - 3 Tbsp
Kesar 3-4 strands (optional)
Salt - To Taste

Method

In a big vessel put water (a lot extra than is usually needed) to boil. Drain the rice and once the water is boiling dunk it in it. Add one star anise, a little cinnamon & one tej patta in it and let it cook till the point it is 90% cooked. Drain the excess water out and spread the rice in a flat big vessel. Don't forget to add a little ghee before spreading it out.

Also boil the eggs and once they are cold cut them into slices.

Warm the milk and add the saffron strands in it.

Take one onion and cut it into fine slices. Heat the Ghee in a kadhai and deep fry these slices till they are golden brown. Remember to separate the slices before frying. Let it drain on a tissue paper and keep it aside.

Make a paste out of the ginger & garlic and finely chop the remaining onion & tomatoes.

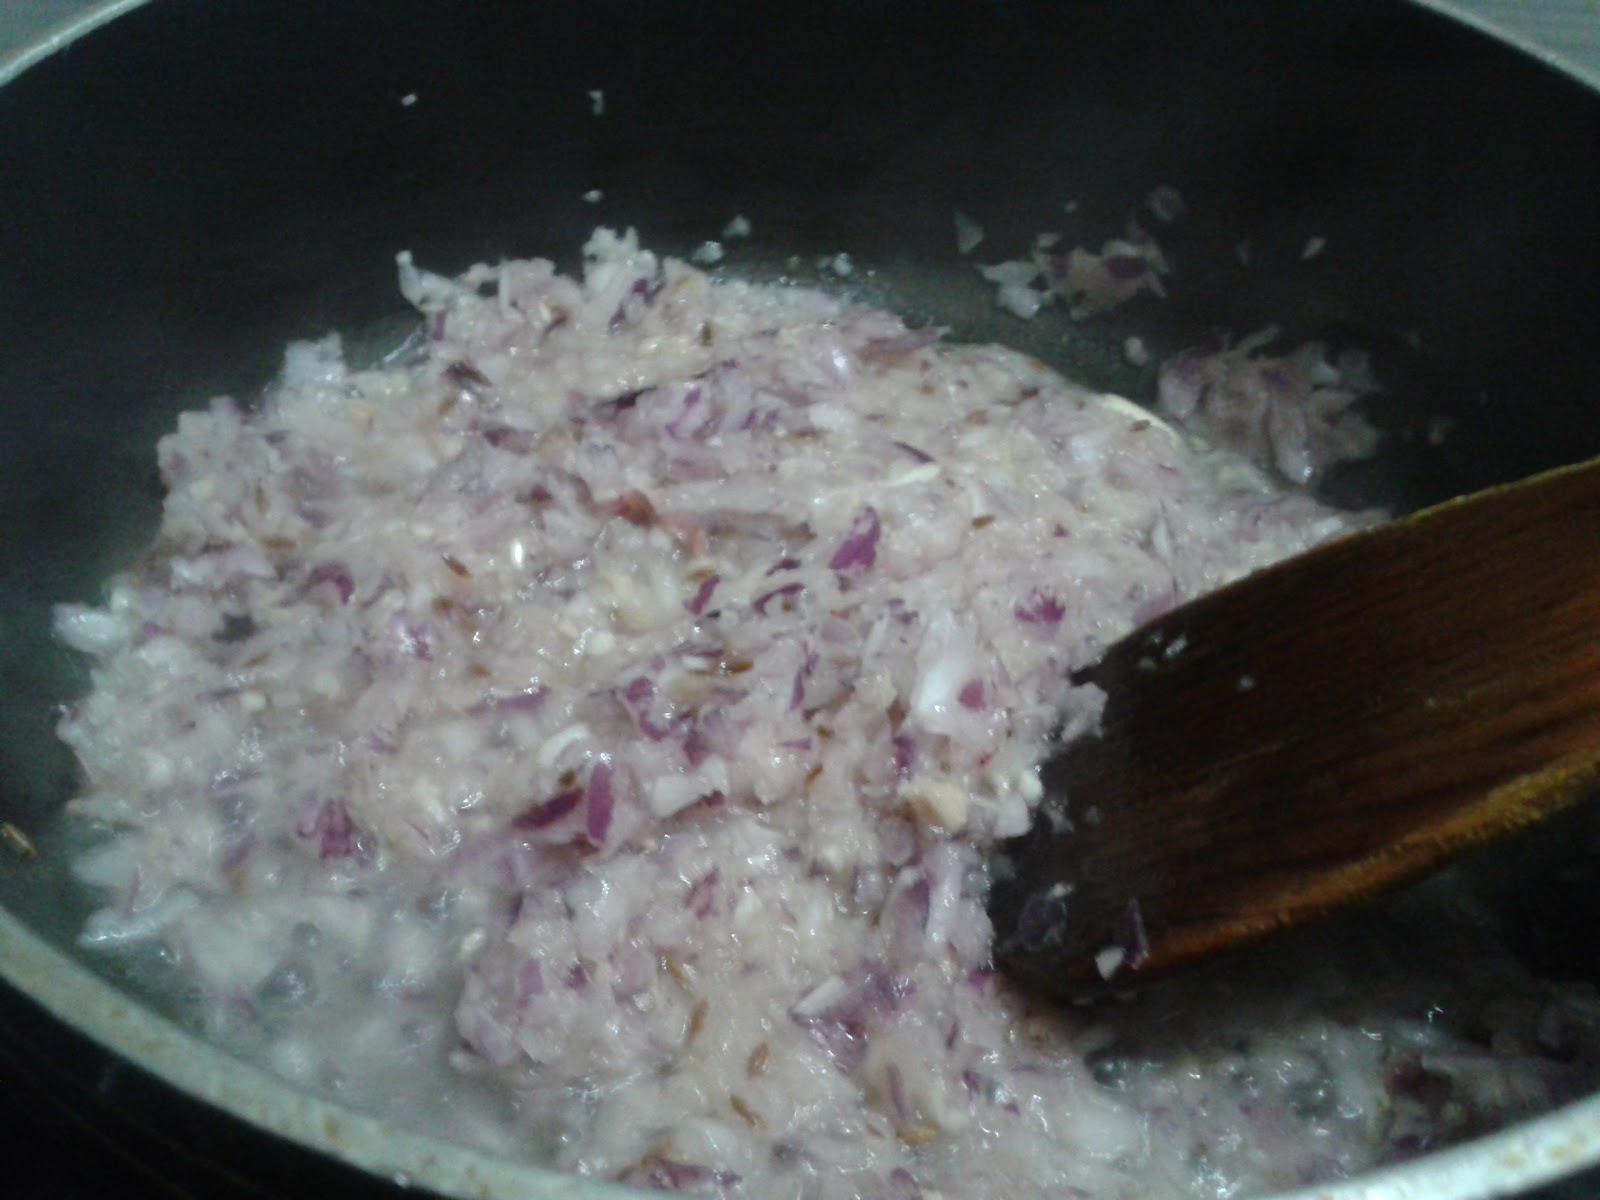
In the ghee (left after frying the onions) add jeera, green chilly and the other garam masala. Once it starts spluttering add the ginger garlic paste, letting it cook for a minute. Now add the onion and let it cook. As it turns pinkish brown add the Biryani masala. I had dunked half of it because I wanted the biryani to be spicy. Let it cook for a minute or two and then add the chopped tomatoes. Cover it and let it cook. Once the ghee starts separating add the curd and bhunofy the masala. Turn the gas off when the ghee has separated.

The lovely simmering masala

Now comes assembling.

Keep the rice, cooked gravy, milk, eggs & fried onion at hand.

Now take a heavy based vessel, grease it with oil. Add a layer of rice, over it arrange the egg slices, then spread the gravy generously. Add a layer of rice over it pour a little milk on it and garnish with onions. Then repeat the process of layering, eggs go in first followed by gravy, rice, milk and fried Onions.

The Layering

Just before I covered it

Keep doing till the rice and gravy are finished. I had managed to make three layers. Finally at the top pour the remaining milk garnish with the fried onions and coriander leaves. Now cover the vessel with a plate and seal it either with roti ka aata or aluminium foil. Turn the gas onn and keep it on low flame, keep a tawa on it and put the vessel above it. Let it cook for 10-15 minutes (depending on how cooked your rice was). Turn the gas off. 

Open the vessel, enjoy the heavenly aroma and serve it with Raita/ Salad / Papad.

Can you see the layers

In the Plate!

Notes
  • The amount of gravy that you need to spread depends on the total quantity you have in hand. 
  • Same goes with rice, like in my case I had excess rice so I kept some aside because too much rice would have taken away the taste.
  • In case you don't find the Biryani Masala then all you need to add is turmeric powder, red chilly powder, Dhaniya Powder and a little more of the garam masala that I have suggested. But I would recommend that you some ready to use biryani masala.
  • When you put the rice to boil do add salt in it.
  • Instead of cutting the slices of eggs you can even half it and use it.

Friday, July 11, 2014

Corn Masala in my Style

They say necessity is the mother of invention and this holds true for this recipe of mine. My In Laws love Corn but are unable to enjoy eating it as they want to because it gets stuck in their teeth's. I worked a way out and invented this dish. It tastes yum and is easy to make.

Ingredients

Medium Sized Corn / Maize - 2
Onions - 2 finely chopped
Ginger & Garlic Paste - 1/2 Tbsp
Tomato - 1 Finely Chopped
Jeera - 1 Teaspoon
Salt - To Taste
Chilli Powder - 1 Tsp or to taste
Dhaniya Powder - 1 & 1/2 Tbsp
Garam Masala - 1 Tsp
Cilantro Leaves
Oil - 1 & 1/2 Tbsp

How to

To begin with put the corn for boiling. I had used the normal corn, broken it into two two pieces, pressure cooked it and then removed the kernel. You can even buy the ready to use kernels and boil them.

While the corn gets boiled, we can start the gravy. Add oil in the kadhai, heat it & add jeera. Once it splutters add the ginger garlic paste and after a minute add the finely chopped onions. As they turn pinkish brown add all the spices besides garam masala. Cook it for 2-3 minutes and then add tomatoes. Cover them for 3-4 minutes and once the tomato is tender bhuno the masala till the oil seperates.

When your kernels are ready put them in a mixer and makes paste. How fine you want the paste to be depends entirely on you. You can leave it on a coarser side or you can make a fine paste like I have done. If you ask me a little coarser one tasted better.

Add this paste to the beaming masala and bhuno the whole thing. Add garam masala and garnish with Cilantro leaves and serve either with hot roti's or parathas.

Now I will let the images do the talking.

The Usual Suspects

I love the smell of onions being fried,

The masala has been dunked in

Tomatoes added & sizzling

The boiled beauties

The removed kernels

The Paste


Ready!


To be served..

Easy to make tasty to eat :) 

Thursday, May 23, 2013

Baigan Ka Bharta!!!

I have never been fond of Baigan per se and as a kid I used to hate Baigan Bharta! I never liked that burnt smell that came with the dish. Surprisingly my taste buds have changed and I have started liking the same dish now. Come to think of this, my taste buds changed a lot post my pregnancy. Hormonal changes I guess.

Now let’s get on with the recipe of Baigan ka Bharta which is made quite often in my kitchen.

Baigan Ka Bharta (serves four)

Baigan (Brinjal) – 2 Medium Sized
Garlic - 3 cloves for roasting & 6-7 for the bharta
Ginger – 1” piece
Oil - 2 Tbsp
Onion - 2 Medium sized, finely chopped
Tomato - 2 medium sized, finely chopped
Green Peas- 1/4 cup (optional)
Boiled Potato- 1 mashed (Optional)
Cilantro leaves- 2 Tbsp
Curd - 1 tbsp (optional)

Spices
Jeera - 1 teaspoon
Salt -   To Taste
Red Chili Powder- To taste
Dhaniya Powder - 1 Tbsp
Turmeric Powder - 1 Teaspoon

How to make it
Wash the Brinjal’s, wipe them dry, apply a little oil and then make cross slits on each side of the brinjal. In those slits insert the garlic.

Then put them on medium flame. Keep turning them and cook till a knife goes through the baigan. Once they are roasted keep them aside to cool. The aroma which fills in the kitchen with the roasting is just so awesome that I cannot tell you. Once the brinjal cools down remove the skin and mash it into a paste.


Now pour the oil in a skillet, once it is hot add the Jeera and as it starts sputtering add the ginger garlic paste & then the green peas. Let it cook for a minute & then add the onions (don’t forget to add a pinch of salt in it; it helps in cooking the onions a little faster). Once the onion turn brown add all the spices.


Bhunofy it till the oil starts separating from the mix (in about 3-4 mins?) and then add the chopped tomatoes. Cover the whole thing and let the tomato cook. Once they are tender add the curd and bhunofy the masala for 5 mins. Now add the mashed Brinjal & the boiled potato.


Cook for 5 mins on high flame and then reduce the flame. Cook for 5-10 mins, garnish with cilantro leaves and serve it with hot roti’s, onion & green chilly.

Wednesday, February 27, 2013

Lauki ke Kofte

I hate Lauki (Bottlegourd ) and I know many more people who are like me. I remember my Mom would always make potato vegetable along with it so that I could eat it. But then there were days when she would serve it as kofta’s and trust me we wouldn’t even know that very slyly she was feeding us (though it is a different matter altogether that it loses its benefits after frying) the much hated lauki.
So here I present you the much hated Lauki in a version which makes it much loved ;-)
Lauki Ke Kofte
For Kofta’s
Lauki:                               1 medium sized
Besan:                             1 Tablespoon
Salt:                                1 ½ teaspoon
Garam Masala:                  1 teaspoon
Cilantro leaves:                 1 tablespoon
Bread:                             Two slices
Boiled potato:                   1 (optional)
Oil:                                  For frying
For Gravy
Onions:                              2 medium sized
Tomatoes:                          2 medium sized
Garlic:                                6 Cloves
Ginger:                               1 inch piece
Red Chilli Powder:                1 Teaspoon (vary the quantity as per taste)
Dhaniya Powder:                  1 & 1/2 Tablespoon
Turmeric Powder:                 1 & ½ Tablespoon
Salt:                                   To taste
Curd:                                  1 Tablespoon
Malai:                                 1 teaspoon (optional)
Garam Masala Powder:          1 & ½ teaspoon
Cilantro leaves:                    1 Tablespoon (for garnishing)
Oil:                                    2 Tablespoon

Put 2-3 glasses of water to boil, peel the Lauki and grate it. Once the water starts boiling put the grated Lauki in it and let it boil for 3-4 minutes. Switch off the gas and let the Lauki lie in the hot water for 10 minutes. Later drain the Lauki out in a drainer and it let cool.
Kofta Stuff!
In the meanwhile you can start working on the gravy by adding Two Tbsp oil in a kadhai; add jeera, minced ginger & garlic. Let it fry for two minutes and then add the chopped onions.
Once the Lauki cools down take small-small quantities of Lauki in your palm & squeeze out the water. This step is very important because it decides how good your Kofta’s would be. Please ensure that you manage to squeeze out the maximum water. Once this is done add all the ingredients mentioned under the head “For Kofta’s” and knead this into soft dough. Keep stirring the onions in between.
Heat the oil for frying. Make small balls of the dough and fry it in batches and don’t forget to stir the onions in between. Key to perfectly fried Kofta’s? Remember that when you are putting them to Fry the oil should be hot, 2-3 mins after putting them in put the flame at medium, keep rotating the balls so that they don’t get overcooked from one side. Just before you are taking them out increase the flame, cook for 2-3 mins and take them out when they are golden brown.
Frying Away to Glory!
Ready to be thrown in the sea of gravy!
By the time you would be done with the Kofta’s the onions would have turned brown. Now add the masala’s i.e. Red Chilli Powder, Dhaniya Powder, Turmeric Powder & Salt. After 2 mins add the chopped tomatoes, cover the kadhai and let it cook at medium flame.  Keep stirring in between and once the tomatoes’ are cooked add the curd & Malai.

Cook it at high flame and once the oil separates from the masala add approximately 2 cups of water, bring it to boil and then let it cook at low flame for approx. 10-15 minutes. Now add the Kofta’s slowly and turn off the gas.
Garnish it with cilantro leaves and serve it with hot roti’s/ rice.


There is an alternate way to make the gravy which you can find here. http://books-life-n-more.blogspot.in/2012/08/some-weight-updates-recipe.html. The only difference here is that we make a paste of the Onions + ginger + garlic + tomatoes and then cook it. Since this method takes more time I would advise you to start with this even before par boiling the Lauki. This will save you loads of time. I prefer using the second method on days when I have extra time or when I am expecting guests, it is however very important that the masala has to be cooked very well otherwise there would be this half cooked taste which can spoil all the efforts.
Here, this is the picture of the subji made with the second method. The difference is just in the texture of gravy. 

Do you make this dish? Same way or some other version? Do share.

Wednesday, February 6, 2013

Meri Waali Dal Tadka!

Most of my cooking skills come from my Mom and when it comes to basic dishes I have her on my beck & call. She is an awesome cook and her cooking style is simple yet there is something about the way she cooks that even the simplest dishes come to life under her and though I love everything that she cooks but her dal’s are out of the world.
 
Fortunately for me I have picked up right genes from her and learned the right way to make dal her way. Whenever I carry it to lunch not a single scrap is left and there are always queries as to how do it make it. I am not being immodest here but the truth is that there is something in the way that my dal comes out that it becomes finger licking tasty! So here I am to share with you a simple recipe of making dal my way!
 
Cast
 
Arhar daal -          1 cup
Water -                1.5 cup approx
Turmeric Powder- 1 teaspoon
Salt -                   To Taste
 
For Tadka
 
Ghee -                     One generous spoon
Jeera -                     1 Teaspoon
Asafoetida -              A pinch
Garlic -                     3-5 cloves finely chopped
Ginger -                   ½ inch piece finely chopped
Onion -                     1 finely chopped
Green Chilly -            1 finely chopped – (Optional)
Tomato -                   1 finely chopped
Curd -                       1 teaspoon
Malai -                      1 teaspoon (Optional)
Garam Masala Pwder- 1 tsp
Red Chilly -                To taste
Lemon Juice -             1 & ½ Tsp
Cilantro leaves for garnishing
 
Pressure cook the daal adding salt & turmeric powder to it.


Once that is ready take a vessel, add the ghee and once it is hot add the Asafoetida & jeera to it. Once that starts dancing away to glory add the chopped ginger garlic mix. Let it cook for 2- 3 minutes and then add the chopped onions & green chilly.

 
As the onion turns light brown add the tomato and then give them some moments of solitude together by covering the vessel. Once the tomato is all soft soft add the curd & malai and bhunofy the mix for 2-3 mins. As the ghee starts leaving the masala throw in the chilli powder & the garam masala powder.


Now pour the daal in it, add the lemon juice & cilantro leaves and your daal is ready to be served.
 
 
We serve this alongwith subji, roti & rice! You can also alternatively cook the tomato with the daal and skip adding it in the tadka, this is how I do it daily.

Thursday, December 13, 2012

Bharwan Baigan with a Twist!

A lot of thought went into naming this blog and between I & Hubby we came up with the weirdest names.


Hum Aapke Hain Cook!
Main Cook Kiya!
Maine Cook kYUN Kiya!
Aaja Khaale!
Bana Le Khaa le!
We had a good laugh at it and ultimately were back to square one. I had initially named it as “In Love With Food” but were not happy with the insipid name. I wanted something quirky and thus came up with this. Hope you like and in case you don’t I am sure you will get used to it ;)
So here I am with the first recipe for this blog. Will try to move some old recipes lying in the other blog here as & when I get time. Also ignore the photo quality, I am hoping that the quality will improve with time and a little later the pictures themselves will tempt you to cook the dish immediately.
Bharwan Baigan with a twist (Stuffed Eggplants)
Twist here is that instead of stuffing the baigan I have tried a shortcut to it.
Serves 4
Small Baigan:                500 gms
Onions:                         4 medium sized
Tomatoes:                     2 medium sized
Garlic:                           6 Cloves
Ginger:                          1 inch piece
Red Chilli Powder:         1/2 Teaspoon (increase the qtty if you like your food spicy)
Dhaniya Powder:            2
Tablespoon
Turmeric Powder:          1 & ½ Teaspoon
Salt:                              To taste
Garam Masala Powder:   1 & ½ teaspoon
Cilantro leaves:             1 Tablespoon (for garnishing)
Oil:                               2 Tablespoon
Put the onions, tomatoes, ginger, garlic & all the spices besides Garam Masala in the mixer grinder and make a fine paste. It is said that the finer the paste the faster it cooks.
Pour the oil in a kadhai and once it heats up put the Masala in it, cover the lid and leave the gas at high. Cook it that ways for 5-10 mins.

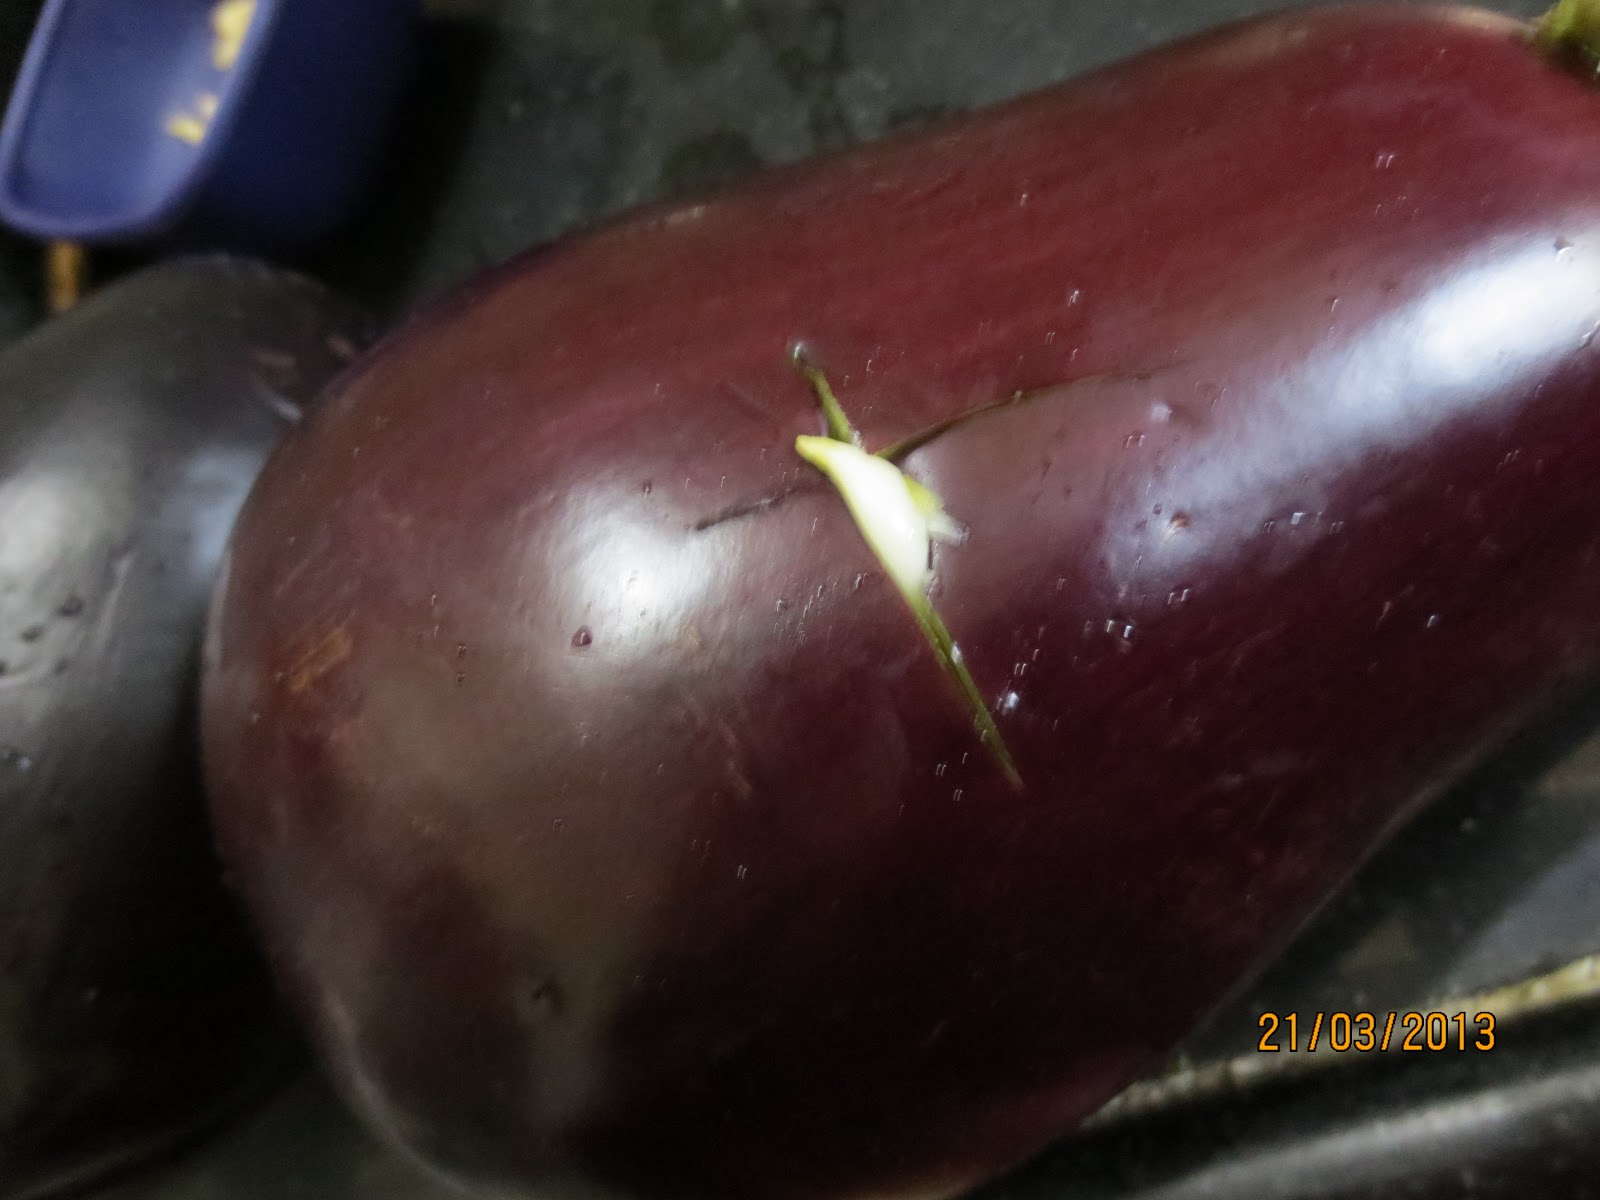
In the meanwhile wash the baigans and slit them in a manner that there is a cross at the end. See the picture for better understanding. Once they are ready open the lid of the kadhai, stir the masala and add the baigans in it.

Cover it again and put the gas at medium flame, keep stirring the masala every 5-20 minutes to ensure that it doesn’t stick to the vessel. Usually we first let the masala cook and then put the vegetables but in this case we put it all together because it speeds up the process. Add a little water if you feel that it is sticking to the vessel. 


The baigans will take some 15-20 minutes to cook and by that time even the masala would be cooked. When the oil separates from the masala, it is deemed to be cooked. Add a little water, garam masala, garnish it with cilantro leaves and serves it hot paratha’s and green chutney.